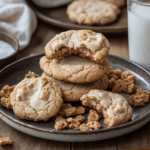
These cookies bring the best of your favorite cereal into a soft, chewy dessert. Cinnamon Toast Crunch Cookies is already loved for its sweet cinnamon flavor and satisfying crunch. Now, imagine those same flavors baked into a delicious cookie. Sounds irresistible, right?
What makes these cookies extra special is their unique mix of textures. The soft dough contrasts perfectly with bits of crushed cereal in every bite. Additionally, they’re easy to prepare, making them perfect for both experienced bakers and beginners. Whether you need a quick snack or a treat to share, these cookies deliver every time.
These cookies are versatile enough for all events. Bake them for birthday parties, holiday gatherings, or even a simple weeknight treat. Furthermore, their cinnamon aroma fills your kitchen with warmth while baking. Pair them with a glass of milk, a cup of coffee, or enjoy them on their own. No matter the occasion, they’ll be a hit with everyone.
What Are Cinnamon Toast Crunch Cookies?
Inspired by a Classic Cereal
At their core, these cookies are inspired by the beloved Cinnamon Toast Crunch cereal. This classic cereal’s sweet cinnamon and sugar flavors blend seamlessly into cookie dough. As a result, you get a dessert that’s both nostalgic and exciting.
These cookies are soft and chewy on the inside, with a slight crunch from the cereal pieces. Moreover, the cinnamon flavor isn’t overpowering. Instead, it complements the buttery richness of the dough. They’re the ultimate treat for cinnamon lovers and cookie enthusiasts alike.
Customizable to Your Taste
One of the best parts about these cookies is how easily they can be customized. You can adjust the ingredients to fit your preferences or dietary needs. Whether you like extra cinnamon, a touch of vanilla, or even a hint of chocolate, these cookies are easy to tweak. The result is always delicious and satisfying!
Cinnamon Toast Crunch Cookies Recipe
Delicious Cinnamon Toast Crunch Cookies
Soft, chewy cookies packed with the sweet and crunchy flavor of Cinnamon Toast Crunch cereal.
- Large mixing bowl
- Whisk
- Baking sheets
- Spoon or cookie scoop
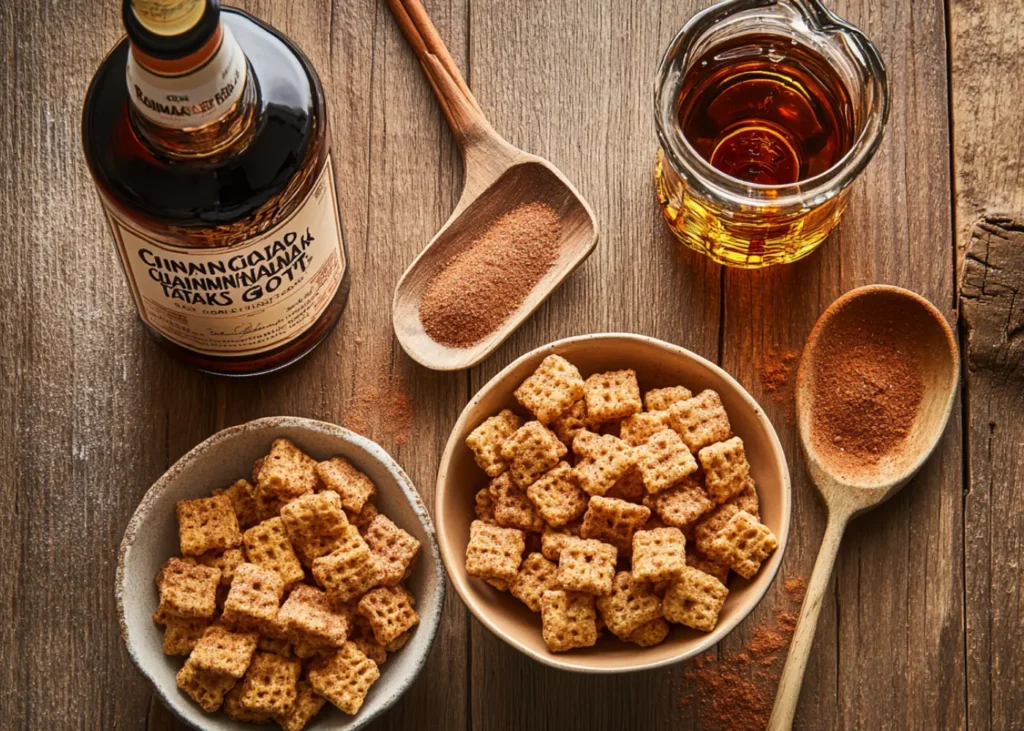
Essential Ingredients
- 1 cup Crushed Cinnamon Toast Crunch cereal (For flavor and crunch)
- 2 cups All-purpose flour
- 1 cup Granulated sugar
- 2 Large eggs
- 1 stick Softened butter
- 1 tsp Baking powder
Optional Ingredients
- 1 tsp Vanilla extract (For a sweet aroma)
- 2 tbsp Brown sugar (For a richer taste)
- 1 sprinkle Cinnadust (For more cinnamon goodness)
- Preheat your oven to 350°F and line baking sheets with parchment paper or silicone mats.
In a large bowl, cream the softened butter and granulated sugar until smooth and fluffy. Add eggs and vanilla extract, mixing until even.

- In another bowl, mix the flour and baking powder. Gradually add this to the wet mixture, stirring gently to combine. Fold in the crushed Cinnamon Toast Crunch cereal.
- Scoop small balls of dough and place them on the prepared baking sheets, leaving space between each cookie.
- Bake the cookies for 10–12 minutes or until the edges are golden brown. Allow to cool before serving.

- Chill the dough: Refrigerate the dough for 30 minutes before baking. This helps the dough hold its shape, creates a chewy texture, and prevents the cookies from spreading too much in the oven.
- Avoid over-mixing: Mix the ingredients just enough to combine them evenly. Over-mixing can lead to tough cookies.
- Watch the baking time: Keep a close eye on the cookies while baking to avoid overcooking, which can make them hard.
- Use parchment or silicone mats: Line your baking sheets with parchment paper or silicone mats to prevent sticking and ensure easy cleanup.
Common Mistakes to Avoid
Using too much cereal can make the cookies dry and crumbly. Stick to 1 cup of crushed cereal for the best balance of crunch and flavor. Likewise, baking the cookies too long can make them hard instead of soft.
Additionally, skipping parchment paper can cause cookies to stick to the baking sheet. Take your time to follow these small tips, and your cookies will turn out great. Paying attention to these details makes baking easier and more fun.
Creative Variations of Cinnamon Toast Crunch Cookies
Cinnamon Toast Crunch Sugar Cookies
For this version, mix crushed Cinnamon Toast Crunch cereal into sugar cookie dough. Start with your favorite sugar cookie recipe, or use ready-made dough to save time. Add 1 cup of crushed cereal to the dough and stir gently.
Roll the dough into small balls and coat them with cinnamon sugar. This step adds extra flavor and sweetness to every bite. Bake the cookies as usual, and let them cool before enjoying.
Furthermore, you can drizzle melted white chocolate over the cookies after baking. This makes them look and taste even better. These cookies are great for parties or as a treat to share with friends and family.
Cinnamon Toast Crunch Sandwich Cookies
Sandwich cookies are a fun way to make your dessert stand out. Bake the cookies and let them cool completely. Then, spread cinnamon-flavored frosting or cream cheese on one cookie and place another on top.
Additionally, you can sprinkle crushed cereal or Cinnadust onto the filling for added crunch. This simple step makes the cookies more flavorful and fun. These sandwich cookies are perfect for birthdays or family get-togethers.
Moreover, you can customize the filling with other flavors, like caramel or chocolate frosting. This makes it easy to create a variety of treats for any occasion. Everyone will love these creamy and crunchy cookies.
Vegan Cinnamon Toast Crunch Cookies
To make a vegan version, swap a few ingredients with plant-based options. Replace eggs with flaxseed eggs by mixing 1 tablespoon of ground flaxseed with 3 tablespoons of water. Let this sit for about 5 minutes until it thickens.
Use vegan butter instead of regular butter for a dairy-free alternative. Make sure to check that the cereal is also vegan-friendly, as some brands may contain dairy. These small changes keep the cookies tasty and soft.
Vegan Cinnamon Toast Crunch Cookies are a great option for anyone following a plant-based diet. They are just as delicious as the original recipe, and no one will notice the difference. These cookies are easy to make and perfect for everyone to enjoy.
FAQs About Cinnamon Toast Crunch Cookies
What are the first three ingredients in Cinnamon Toast Crunch?
The main ingredients in Cinnamon Toast Crunch are whole grain wheat, sugar, and rice flour. These combine to create the cereal’s iconic crunchy texture and sweet taste. Additionally, cinnamon is added for its signature warm, spicy flavor.
Can I use Cinnamon Toast Crunch Cinnadust in cookies?
Yes, you can absolutely use Cinnamon Toast Crunch Cinnadust in your cookies! It’s a fantastic way to add even more cinnamon flavor. You can mix it directly into the dough for a richer taste or sprinkle it on top of the cookies before baking to create a flavorful crust.
Additionally, Cinnadust works well as a finishing touch. Once the cookies are baked and cooled, dust a light layer over them for extra sweetness and a decorative look. This simple addition enhances both the flavor and presentation of your cookies, making them even more irresistible.
How do I store Cinnamon Toast Crunch Cookies?
Store the cookies in an airtight container to keep them fresh. If you stack them, place parchment paper between the layers to prevent sticking. Additionally, keep them at room temperature for up to 5 days, or refrigerate them to extend freshness.
Can I freeze the cookie dough?
Yes, freezing the dough is simple. Roll it into balls, freeze them on a tray, and transfer to a freezer-safe container. When baking, add 1–2 minutes to the baking time for fresh, delicious cookies.
Are Cinnamon Toast Crunch Cookies gluten-free?
No, they’re not gluten-free if made with regular flour. To make them gluten-free, substitute regular flour with gluten-free flour and check that the Cinnamon Toast Crunch cereal you use is certified gluten-free.
What is the difference between using crushed cereal vs. whole cereal pieces?
Crushed cereal blends into the dough, creating an even cinnamon flavor throughout the cookies. Whole cereal pieces, however, stay crunchy and add more texture. Both options work great—it’s just a matter of personal preference!
Cinnamon Toast Crunch Cinnadust Breakdown
Calorie Content for Cinnamon Toast Crunch Cookies
Each cookie has about 150 to 200 calories, depending on the size. Most of the calories come from sugar, butter, and cereal. Besides adding sweetness, these ingredients also give the cookies their soft texture.
Butter and sugar make the cookies taste rich but also increase the calorie count. For this reason, it’s a good idea to enjoy them in small amounts. These cookies are a treat that’s best eaten occasionally.
Tips for Healthier Cookies
It’s easy to make these cookies a bit healthier with small changes. You can use less sugar or try natural sweeteners like honey. These swaps keep the cookies sweet while cutting back on sugar.
Additionally, you can replace some flour with oats or whole wheat flour. This adds fiber and makes the cookies more filling. These simple changes help balance the recipe while keeping the delicious flavor.
Serving and Storage Tips for Cinnamon Toast Crunch Cookies
Best Ways to Serve These Cookies
These cookies go perfectly with milk or coffee. You can also serve them with a warm cinnamon drink for an extra cozy treat. Their sweet flavor makes them a great snack any time of day.
Another idea is to use these cookies as a topping. Crush them and sprinkle over ice cream or mix them into yogurt. This makes simple desserts more fun and tasty.
Pair these cookies with a comforting breakfast like sourdough French toast for a wholesome start to the day.
Storage Guidelines
Keep the cookies in an airtight container to stay fresh. They will last up to 5 days at room temperature if stored properly. Make sure to close the container tightly to keep the cookies soft.
For longer storage, freeze the cookies in a sealed bag or container. They can stay in the freezer for up to 3 months. When you’re ready to eat them, let the cookies thaw at room temperature.
Why Cinnamon Toast Crunch Cookies are a Must-Try
A Nostalgic Treat for All Ages
These cookies taste just like the cereal you loved as a kid. The sweet cinnamon flavor is familiar and comforting. Both kids and adults will enjoy these cookies.
Perfect for Parties, Gifts, or Everyday Snacking
These cookies work for any occasion. You can bring them to a party, give them as a gift, or enjoy them as a snack. They’re simple to make and always a favorite with everyone.
If You Looking for more dessert inspirations? Check out this easy banana pudding brownies recipe for another sweet treat idea.